For several years now I’ve been lusting for a good compound microscope. I wanted one that I could call my very own, and thus justify allowing people to use it only after they have been trained by ME in how to use it correctly, and I wanted it to have certain features that the old lab scope I’d been using didn’t have. Or maybe had but didn’t work that well. I never wanted anything especially fancy or high-tech–no USB capability or polarizing light necessary. I knew I wanted a non-standard set of objective lenses (10x, 20x, 40x) so would probably not be able to buy a microscope off the shelf, so to speak. I also wanted to take really good photographs through the scope, using my DSLR. The iPhone-through-the-eyepiece does surprisingly well, but it felt like it was time to grow up and use a real camera to take photomicrographs.
These were the must-have features:
- A 20x objective! Most compound scopes have 4x, 10x, 40x, and 100x objectives. That jump between 10x and 40x is huge, and I got spoiled because the old lab scope has a 20x objective that provides the perfect magnification for my needs. Seriously, that 20x is the Goldilocks of objective lenses!
- Brightfield, darkfield, and phase-contrast lighting
- A trinocular head so I can attach my DSLR and still have two eyepieces to look through while the camera is mounted
Fortunately, microscopes are not like cars, and it is quite possible to mix and match features to build the exact instrument to suit one’s needs. I did some research, decided for real that I DID NOT require either polarizing or differential interference contrast (DIC) lighting, each of which would have raised the cost by quite a bit, and bit the bullet, placing the order in early April. Some of the parts were on backorder, delaying delivery for a few weeks, and the microscope arrived last week.
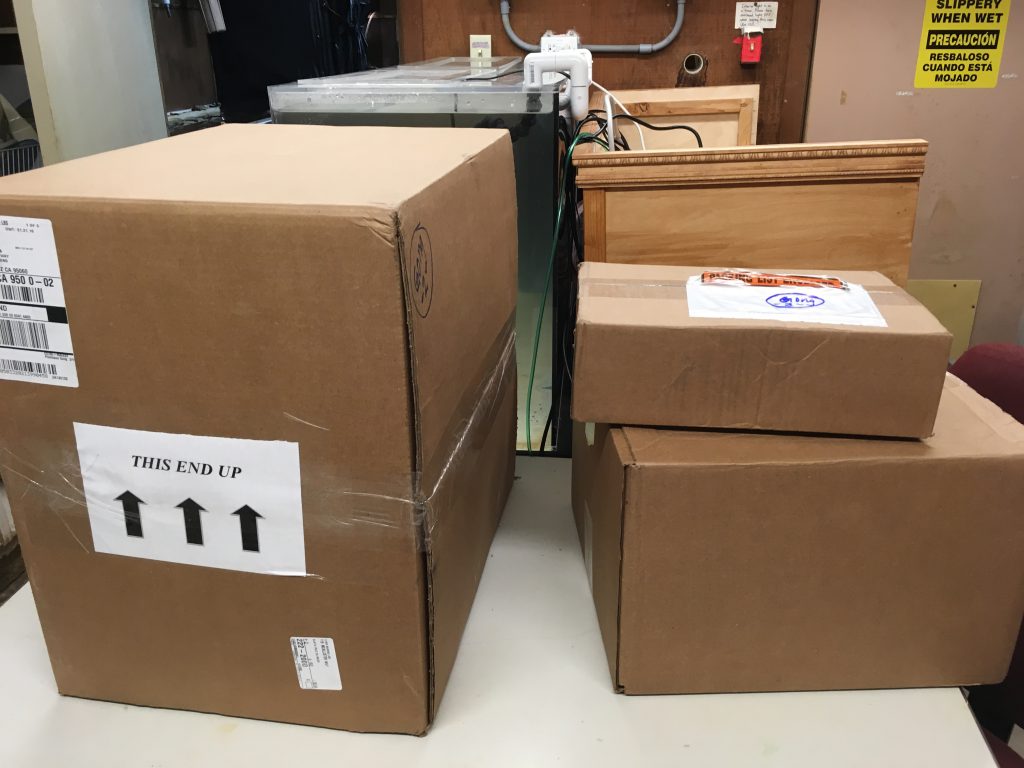
I didn’t have time to do more than open the boxes and see what was inside.
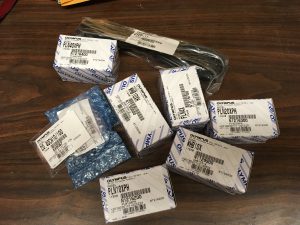
After this quick peek I had to wait over a busy weekend before diving into the boxes yesterday. I didn’t want to try to assemble the microscope after a day of teaching, when my brain would be tired. I’m already not the most mechanically inclined person in the world, and knew I needed a fresh brain to tackle this oh-so-crucial job. Monday was the first day that I didn’t have stuff scheduled in the morning, so I could devote a few hours to it.
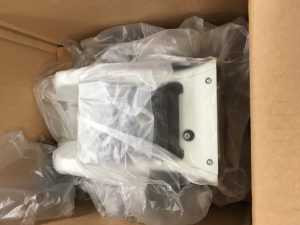
Step 1: Remove plastic wrapping from the body and remove pieces of tape in the order mandated by the directions.
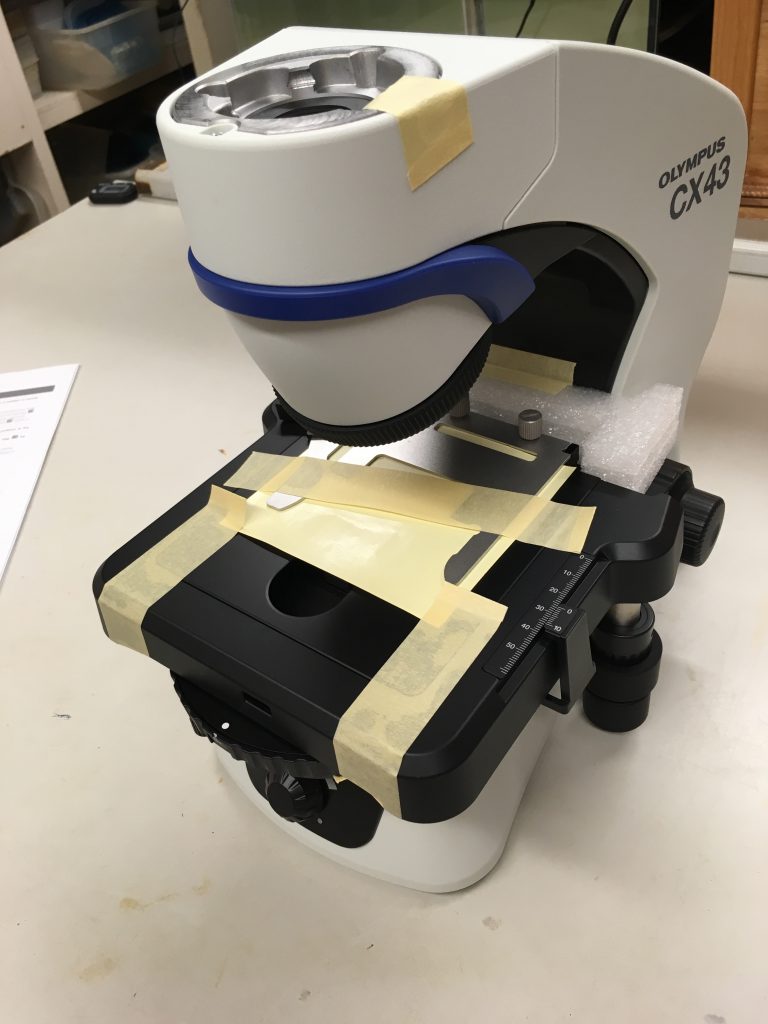
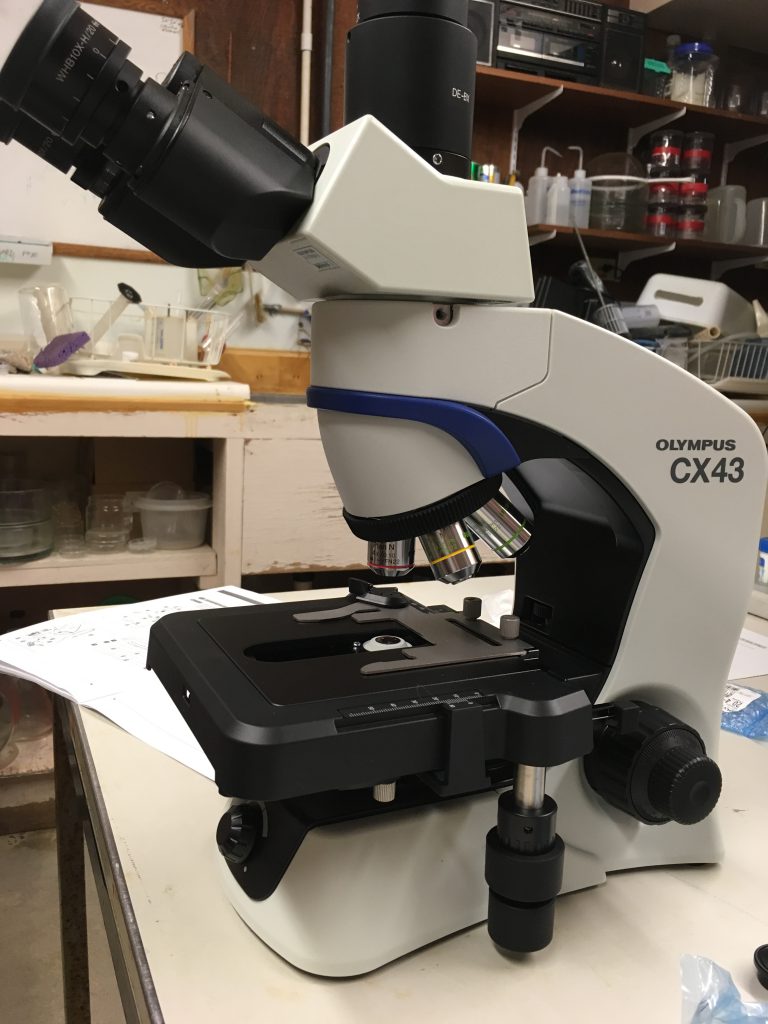
Step 2: Attach the trinocular head.

Step 3: Screw in the objective lenses. As the self-nominated Queen of Cross-threaded Fittings I was especially careful to get these right. One of the things I like about this microscope is that it comes with space for five objective lenses, so if I decide in the future to add a 100x objective or upgrade one of the others, I’ll have space to do so.
The microscope went together pretty easily. It feels solid and well built.
Step 4: Find something microscopic to look at!
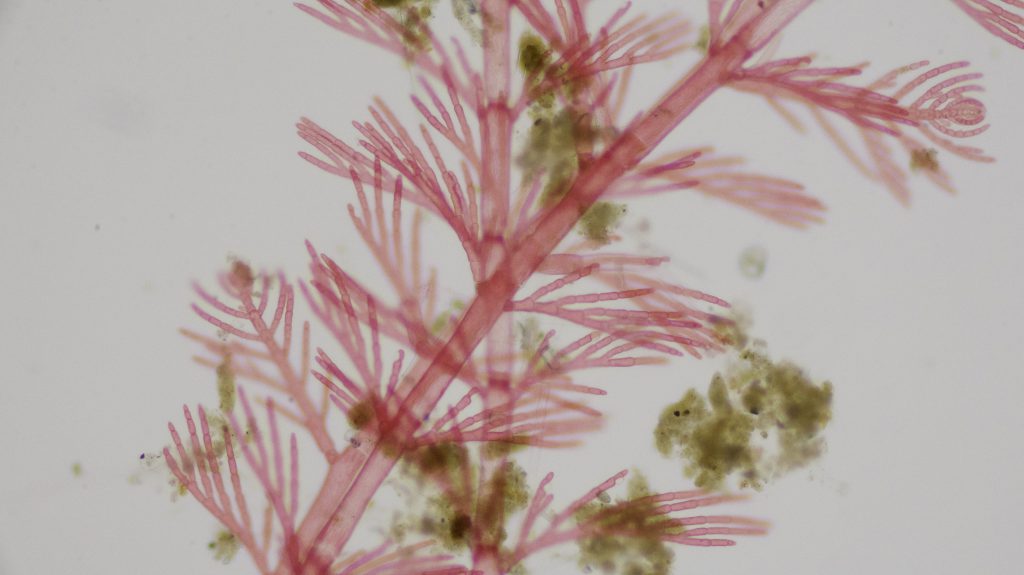
I picked up a piece of red filamentous alga which I thought would be Antithamnion defectum, made a wet mount, and slid it under the lens. And oh my word, the image is beautiful!
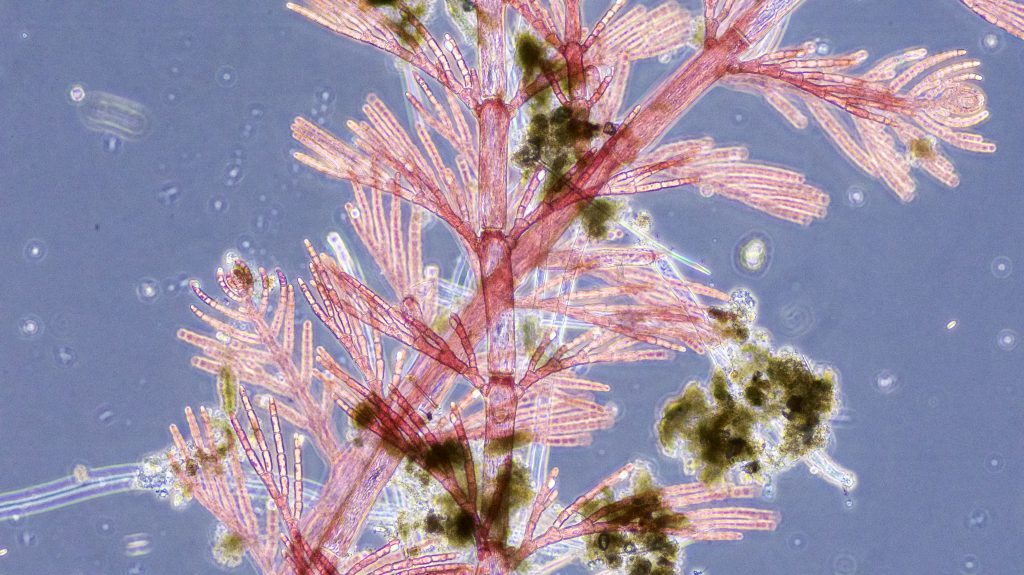
Switched to phase-contrast and was just as impressed:
See how much more definition you get with phase-contrast lighting? One of the reasons I really wanted phase-contrast is that it makes transparent organisms, which white light just passes through, visible.
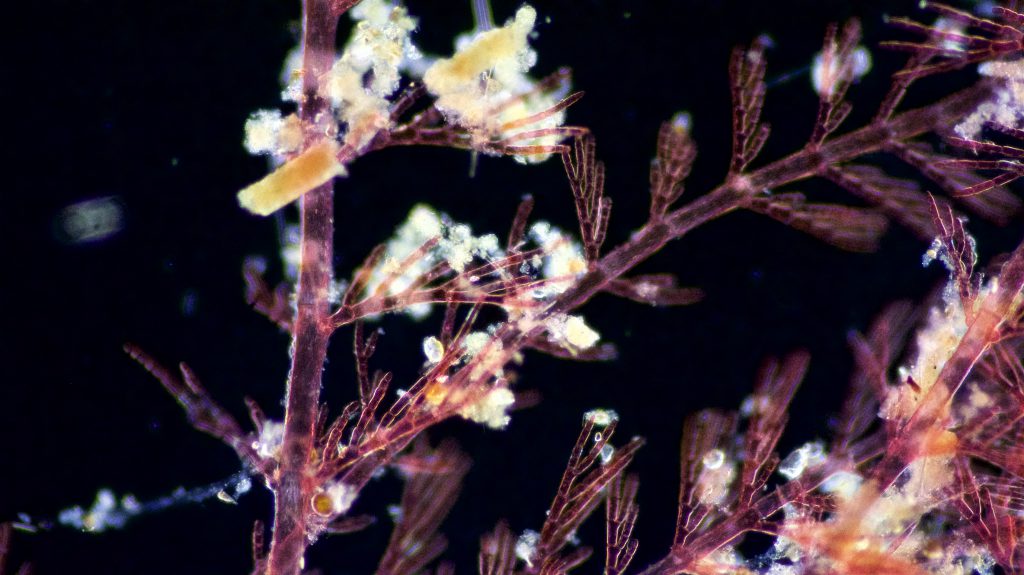
And the pièce de résistance, a different piece of the same alga viewed in darkfield:
I am going to love playing with this new toy! Tomorrow I’ll collect a plankton sample and do some real photomicrography. Stay tuned.

